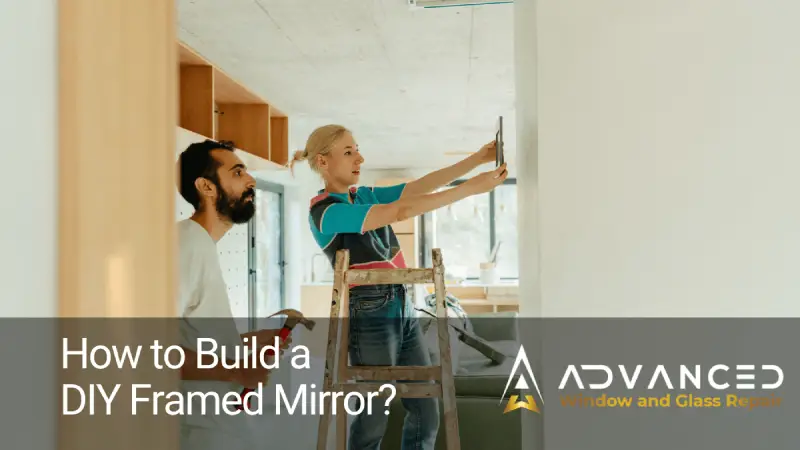
Are you ready to add elegance and style to your home? Why not build your own DIY framed mirror? Our article will guide you through the process, from choosing the materials to attaching the mirror.
With step-by-step instructions and helpful tips, even beginners can create a stunning framed mirror. Let’s get started on this exciting journey with Advanced Window & Glass Repair, LLC.
Grab your tools and let’s begin!
Choosing the Right Mirror Size and Style
When choosing the right mirror size and style, you should consider the dimensions and design that will best complement your space. Mirror placement is important to ensure it reflects light and enhances the overall aesthetic.
Mirror shape, such as round or rectangular, can create different visual effects.
Mirror frame options range from sleek and modern to ornate and traditional.
Mirror finishes can be clear, antiqued, or tinted.
Lastly, mirror customization allows you to add personal touches like etching or engraving.
Gathering the Necessary Tools and Materials
To start building your DIY framed mirror, you’ll need to gather the necessary tools and materials.
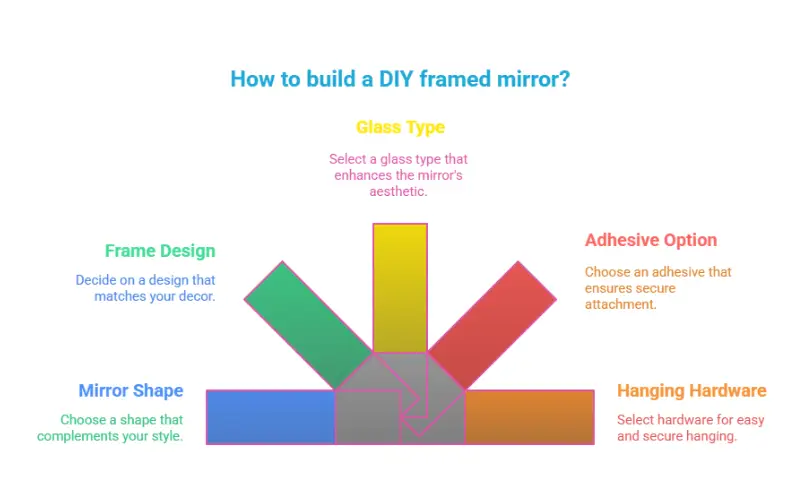
First, choose the shape of your mirror, whether it’s rectangular, round, or another shape that suits your style.
Next, consider the design of the mirror frame, whether you prefer a modern or traditional look.
For the mirror glass, there are various types available, such as clear, tinted, or antique.
When it comes to adhesive options, you can choose between mirror mastic or mirror tape.
Lastly, don’t forget to gather mirror hanging hardware like D-rings or mirror clips.
Measuring and Cutting the Frame Materials
Before you begin measuring and cutting the frame materials, make sure you have all the necessary tools and materials ready.
When it comes to measuring and cutting frame materials for your DIY framed mirror, there are a few important things to consider.
First, think about the frame design options and choose one that suits your style and preferences.
Next, select the appropriate frame material that will complement your mirror and the overall aesthetic of the room.
Use proper measuring techniques to ensure accurate cuts and then cut the frame materials accordingly.
Assembling and Securing the Frame
Now grab your screws and a screwdriver, and secure the frame pieces together with the coordinating brackets.
Before assembling, make sure the frame pieces are properly prepared and painted to your desired color.
Once the frame is assembled, you can add decorative elements such as trim or molding to enhance its appearance.
To ensure longevity, seal the frame with a protective finish.
If you encounter any issues during assembly, troubleshoot common problems like misalignment or loose screws.
Mounting and Hanging the Finished Mirror
Once you’ve completed building the framed mirror, carefully and securely mount it on the wall using appropriate hanging hardware.
Start by determining the ideal placement for the mirror, ensuring it’s centered and at the desired height.
Use hanging hardware specifically designed for mirrors, such as mirror clips or D-ring hangers, to ensure proper support.
Consider the mirror frame design and finishes when selecting the hanging hardware, ensuring it complements the overall aesthetic.
If desired, explore alternative hanging methods, such as French cleats or adhesive hooks, for a unique and customizable display.
FAQs
How can I make a DIY framed mirror at home?
What materials do I need for a DIY framed mirror project?
Can I frame a mirror without removing it from the wall?
How do I choose the right frame style for my mirror?
What’s the best way to keep my framed mirror clean and streak-free?
Conclusion
In conclusion, building your own DIY framed mirror is a rewarding and creative project that can add elegance and style to your home.
With the guidance and tips provided by Advanced Window & Glass Repair, LLC, you can confidently tackle this project and create a stunning centerpiece for any room.
So grab your tools and start building your own beautiful framed mirror today!


